Weekly planning
How do you come up with a plan?
__________________
General options:
The weekly planning is the place where everything starts. The desired workplaces are displayed here, with the desired services, the scheduled employees and the available employees to fill empty shifts. In the top section you will find the option to select the right schedule for your work based on department, location and week. This will then appear below. White boxes indicate that a service is requested, but has not yet been completed by an employee. Colored boxes indicate that the service has been completed.
A box contains the start and end time of the (desired) shift, the name of the employee if the shift has been completed, or the name of the template used to create the shift (View capacity).
The functions of the service are shown along the left side, and the days of the week are shown along the top.
If you select a box here by clicking on it, you will see an overview of the available employees on the far left. Green shaded names indicate the employees with the competencies for this service. Names shaded in white are available employees without the competence. Names shaded in yellow are employees who are already scheduled for another shift that day. Names shaded in red are employees who have been reported sick.
The amount after the name indicates the employee's hourly wage.
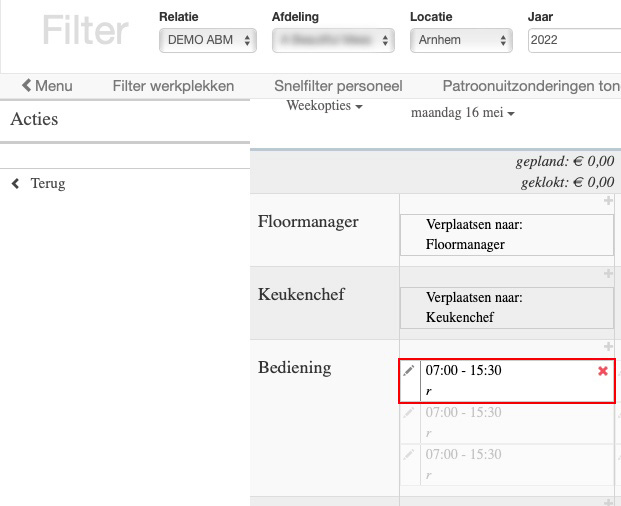
You can delete a service with the red cross at the top right of the box. Or remove an employee from a shift by clicking on the pencil at the top right of the box.
At the top right you also have an option to print the weekly schedule.
Moving personnel
The option “move person” will then appear in the left menu above the names. By clicking on this, all available services will be shown in the overview for that day and you can click on the desired new service. The employee will then be removed from the old shift and scheduled for the new shift.
If someone is already scheduled for the new service, they will be scheduled for the old service. They will then change shifts/workplace/time. At the top right of the days of the week, you can also choose to change the overview. Here you also have the option to choose the daily total. This is an overview where you see all locations and services of 1 specific day.
Weekly options
In the bar with the dates, you can click on the “week options” button on the left. Under this button you will find various options.
Start the grid machine
This starts the roasting machine. This will make a proposal for scheduling staff based on set service codes, patterns, competencies and availability for the entire week. If you agree with the proposal, you will still have to click on the green box that appears with save changes. Otherwise you can also delete the proposal using the red box.
Start the Marktplaats vending machine
This places all still available services from the selected overview on the marketplace.
Free up your weekly schedule
This will delete all completed services in the selected overview.
Present vs available
Day options
Clicking on the dates will also give you some other options.
Add new item
This allows you to: add a new item, or a new service, to the planning.
Add day comment This allows you to add a comment for this day to the location.
Add internal department comment: Allows you to add a comment for this day for the entire department. See where this is reflected in the app!
Templates
This allows you to add an existing template (see capacity chapter) to the day.
Start the grid machine
Same as with weekly options, but only for this day.
Start a marketplace machine
Same as with weekly options, but only for this day. Available Staff: Allows you to see the available staff for this day on the left side of the screen.
Daily list
This opens a new screen with the day list (see chapter Day list)
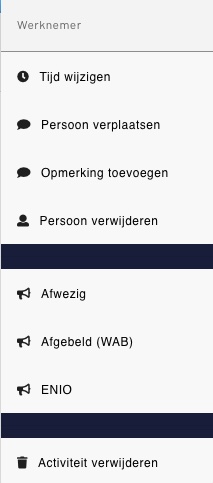
If you want to change a service, you can click on it with the right mouse button. An option menu will then appear for changing time, entering a comment and releasing a schedule.
Search option: In the white bar at the top, you can type the beginning of a name, which will then appear for scheduling.
Here you can find the change time. Click on “change time”, a slider will appear to change the start and end time. Don't forget to click save afterwards.
Bee remark you can enter a comment specifically for this employee.
See where this is reflected in the app!
Link person gives you the employees on the left, just like if you just click on the service. Advertising gives you the opportunity to put the service on the marketplace.
If you choose to have a service to advertise, there will be a red frame around this service, and a megaphone on the left side. When you click on this service, the available employees will appear on the left side of the screen. If you check “show subscribers” there, the employees who have responded to the marketplace will appear. The normal color codes are also used here (green, white, yellow or red shaded).
Delete activity removes this service from the schedule.
Move service
Advertising service
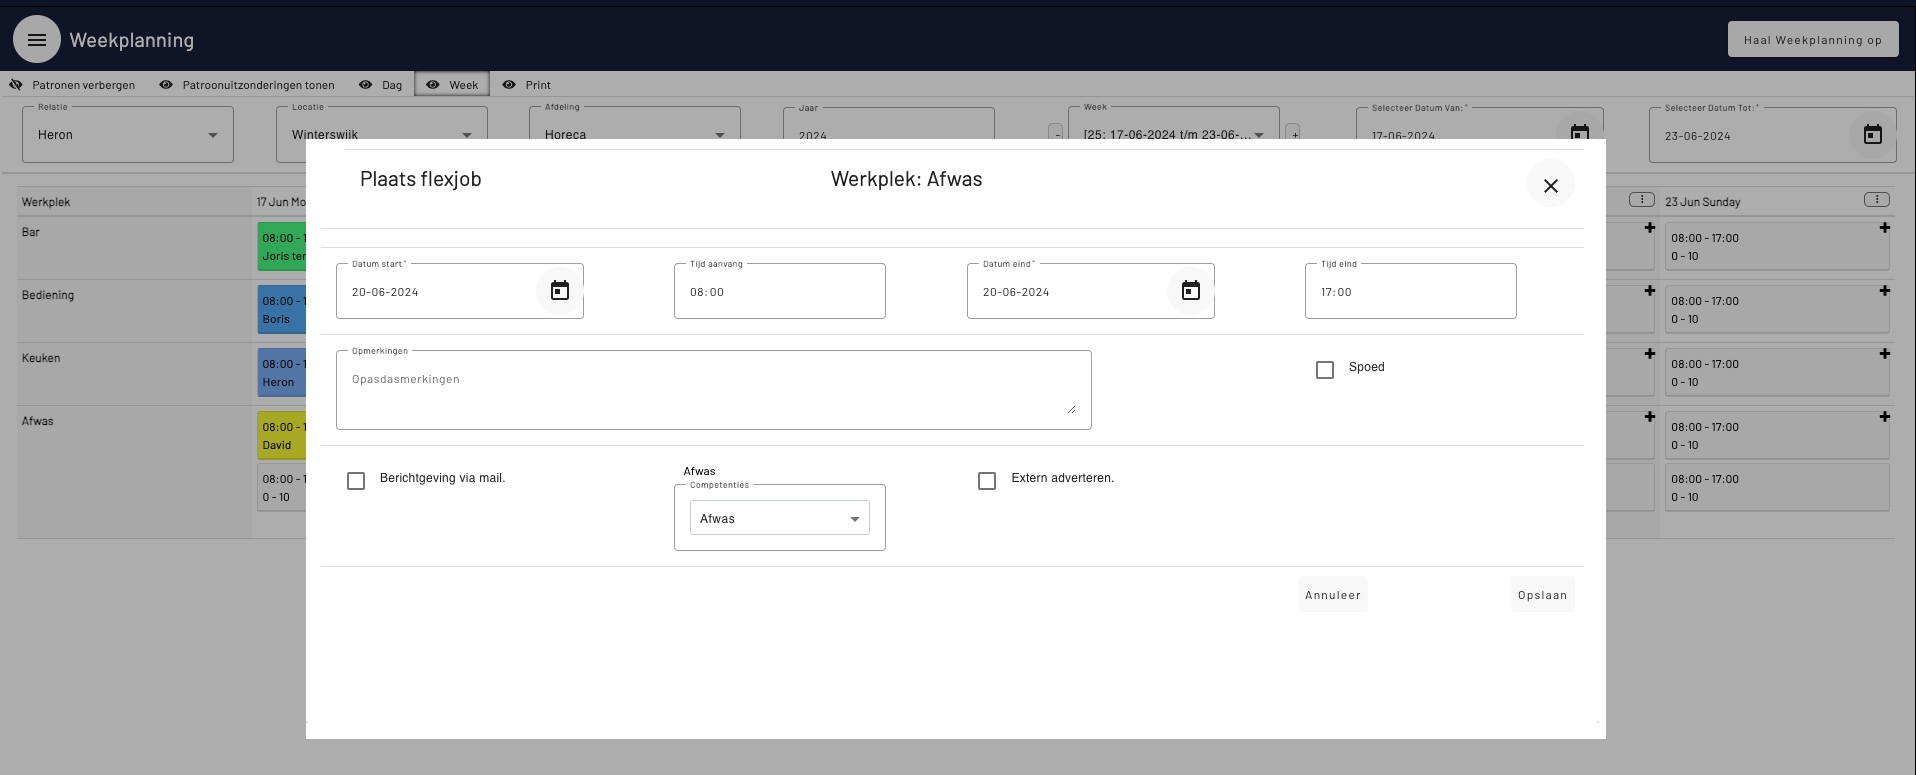
When you click on advertise, the pop-up below will appear.
Here you can select the desired competencies for the service. The linked competencies are selected by default. Only see the employees with the selected competencies this service will appear on the marketplace.
You can also indicate whether you want to give the service extra attention by sending a message via email for a faster response.
Or advertise the activity externally in the event that employment agencies are used, for example
Red: Internal advertising
Blue: External advertising
Green: Service confirmed


